
Sketches
This week, we plan to build a cabinet for displaying our collected pigments and color test. We are assigned in two groups to work together on the display. So, we sketched some ideas for the display. Then, we gathered some recyclable woods to use. Most of the wood we found are in the workshop at our college. However, the wood has nails at each end and it is hard to get it out. We decided to saw it off instead by measuring the sides of the wood. Creating a small pencil mark we then make small cuts on it as guideline. It took us some time to saw off the sides of the wood. Do note we do not have much experience as a carpenter so our sawing is more or less flawed. We plan to make a simple cabinet able to fit both of our storage containers. However it requires a total of 7 wood and sawing them off one by one took quite a long time.
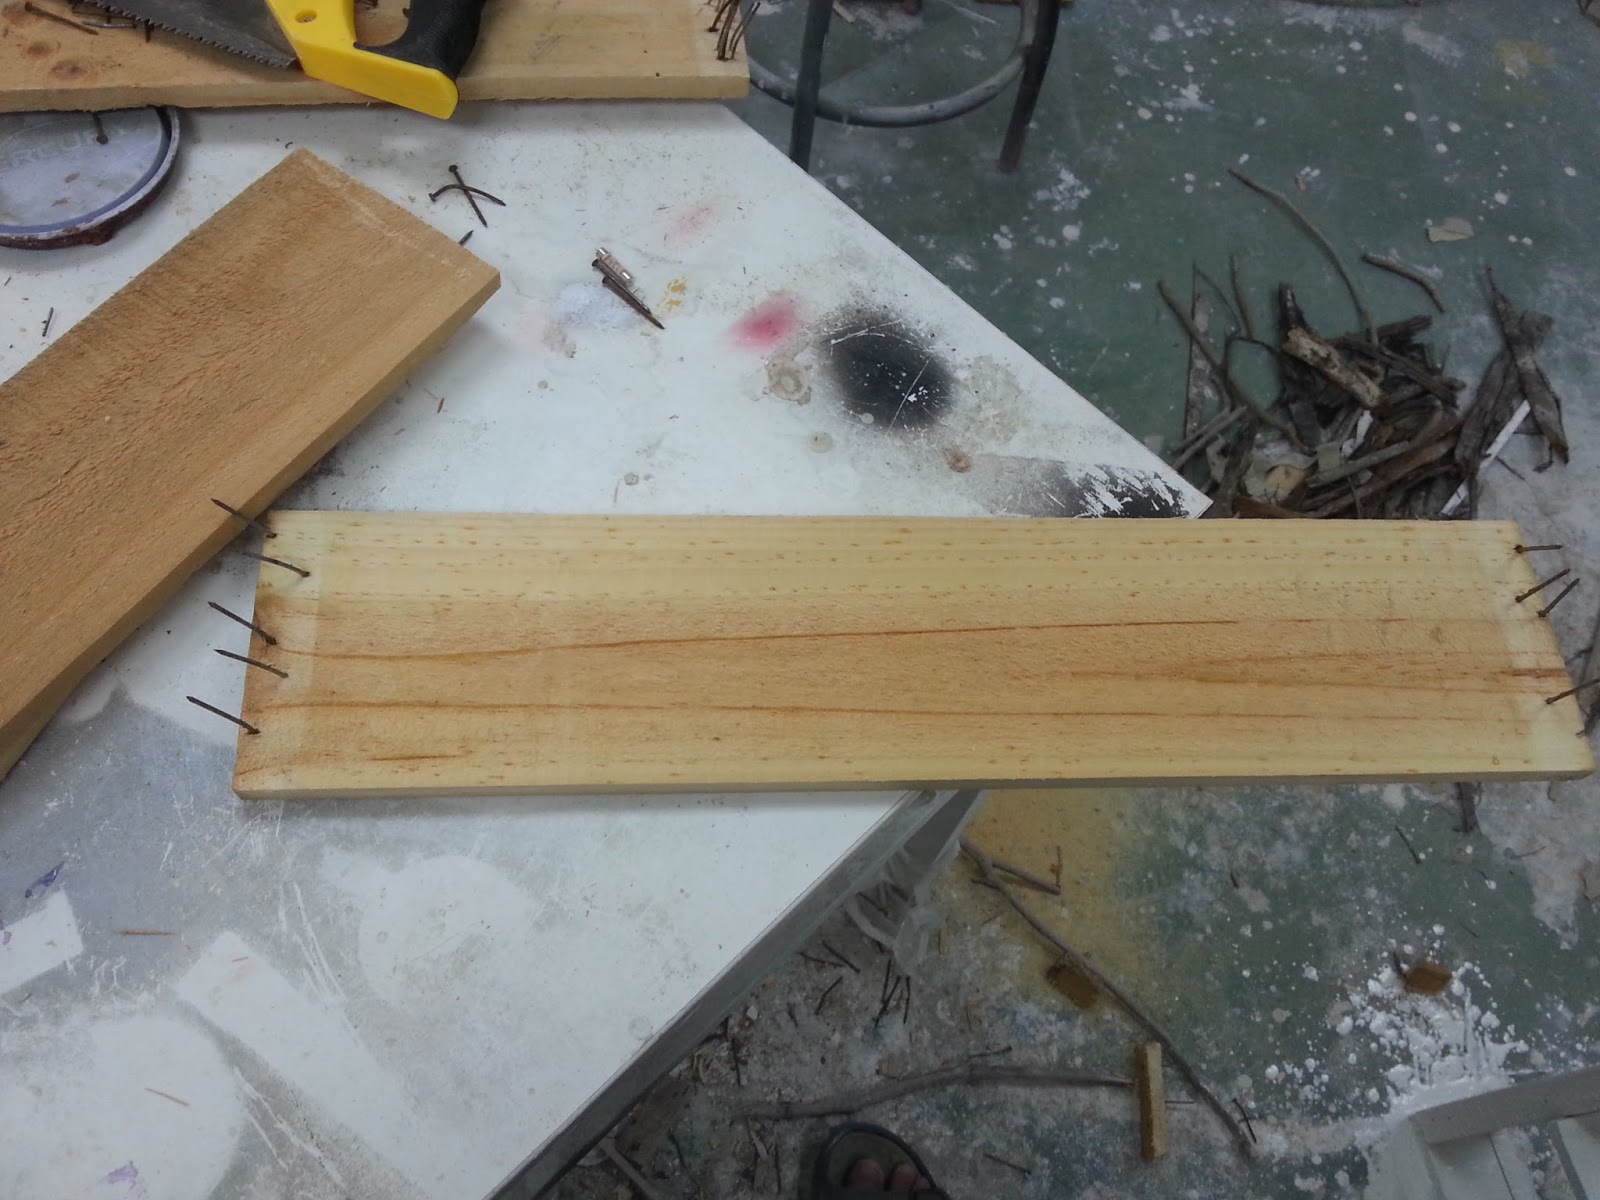
Wood with nails to the side

Guideline on cutting the side of the wood

Done sawing 6, one more to go
After all the wood had been sawed we began nailing the wood together. My partner is a girl however so I had to do the hammering work while she helps put pressure and stabilize the wood. The nails we use are also recycled so it may look rusted but it is still usable. Though, having no skills at carpeting I sometimes made errors when hammering. Sometimes, the wood would go out of place and some nails would be hammered in wrongly. The experience is tiring and took quite sometime to get done. It was a good start for my first experience.

Checking the stability

Hammering the nail
Finally, we finished our cabinet and displayed it outside an empty space with our storage containers and color testing experience. Although, it did not turn out very good as it obviously displayed construction flaws. I am quite happy with it as my first time doing stuff like this and it would serve a good experience in the future.

Full view

Photo of the cabinet

Color display area
No comments:
Post a Comment