Sunday 28 June 2015

Coloring Manual works

Hang Rimau

Colored using postal colors

Character Expressions and notable characteristics

Rimau's Expressions


 Characteristics
Scar on right ear and a tail ring


Jahat's Expressions

 Characteristics
Scar on right eye and shoulder, bandaged left hand

Creating an environment


I used 2 pictures to create my environment. I combined 2 pictures together by cropping as well as adding saturation to make the pictures fit in. I also added a few mist effect on my environment for a scary feel.


Result of my combined environment.


Task 1

This task, we are to observe the movement of everything around us.


Next, we are to observe our surroundings and interpret how the pressure of weight is distributed.


principles of animation Flip book planning


I am tasked on creating a flip book based on the principles of animation. But, I wanted to create a short story while showing all 12 principles of animation. So, I began planning how my flip book goes.


plan 1

plan 2

Character Anatomy


Character Anatomy

My characters anatomy is drawn in a chibi style (cute) anatomy. They are also drawn as animals to reflect their nature, personality, as well as race.

Hang Rimau (Tiger) 

I used represent Tiger as Hang Rimau because Tigers are fearless and loyal. It is also a symbolic animal in Malaysia.


Jahat (Fox)

I made Jahat as a fox because of its mischievous nature as well as cunning mind.

The Sultan(Orang Utan)


The Sultan is basically a monkey to represent man. It is also found only in Malaysia.


Flash Animation


I am required to create a short flash animation trailer about my characters and story line. So, I began with a simple planing of my storyboard.

Storyboard 1


Storyboard 2

Storyboard 3

Portraying characters

This task requires me to create a poster portraying my characters and making them stand out. I started off with a simple sketch


sketch idea 1
sketch idea 2


Final Assignment on 3D

In my final task, I must combine my structure, car and character into one scene.I must then plan on the storyboard to make an animation out of the scene


Storyboard plan 1

Storyboard plan 2

After planning, I created the required environments and added my models. Then, I created cameras and start animating them.

Adding roads and a parking lot

Adding my cars into the scene

Setting up the cameras


Result


Friday 26 June 2015

Experiments with camera

I started off creating a camera and positioned it. Then I go into film gate and used the look through option from the panels. After adjusting the camera position, I created a starting key point to signify the start of the animation.
Creating a camera

Using the look through option

Looking through the camera and creating a starting key point

After setting up all they key points, I used maya software renderer and chose camera in renderable camera so the animation is rendered through the camera
End point of my camera animation

Using camera as the view for rendering

Results of the camera render

This time, I experimented with another type of camera. changing the option to camera and aim. The camera will now only focus on the point that I want it to focus on. I then positioned the focal point at the door of my structure.
camera with camera and aim option

focus on door

Animating from starting point

To the end point

Result of my experiment with Camera and Aim

experiments with lighting

Rendered version of my structure before adding light


Adding an ambient light on top

Result of the rendered version with ambient lighting

Thursday 25 June 2015

Modeling a car

This model of my car  is using only basic tools and geometry to model.


Started off with basic sketch of my car 


Quick trace using AI

Started off using a cube to model my car

Using extrude and extruding the face to model my car

Using differences I added simple front detail

After that, I added tires using the cylinder polygon and aligned them using the attribute editor

I modeled the top area next using a cube polygon

Using differences tool, I shaped the top part of the car and made mirrors for it.

A simple and almost-finished model of my car

Added simple colors to my car

Animating my Car
First I freeze the transformation then i parent the tires to the car

I then make a key frame on the 1st frame as the start

Then, I selected the last frame and moved the car foward and rotated the tires. After that, I created a key frame on the last frame.

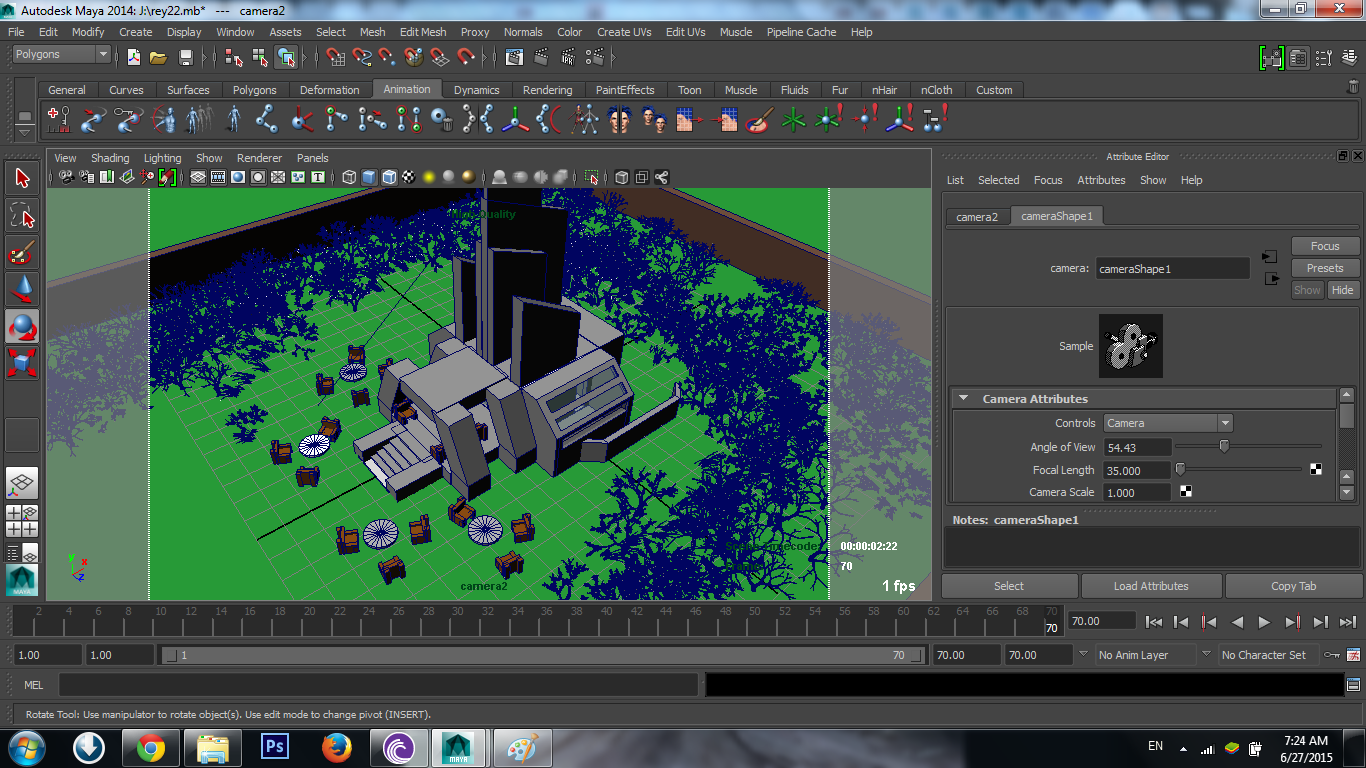
The result of the experiment using software renderer