On the rest of the week, I will learn about texture transferring to an objects surface. The experiment will take place at Dr. Hushinidi's Workshop. The materials that are prepared are :
PVC glue (adhesive)
A ragged cloth
A large brush
Some Clear water
Rolling pin
Today, Dr. Hushinidi will show me an example on how the experiment can be done. In Figure 1, shows him selecting some of the printed textures he captured and figure 2 shows him adding some effects using pen to it as experiment to see if the ink will stick with the texture.
Figure 1
Figure 2
Next few Figures shows the process of applying the PVC to the printed paper. First off, he used an acrylic plate as to protect the table from the adhesive and preventing the applied paper sticking on the table. Figure 3 shows him wiping the acrylic plate clean from any left over adhesive to prevent any sticking on printed paper.
Figure 3
Figure 4 shows proper cleaning on the brush, the brush must be cleaned after use or else the adhesive will damage the brush. After cleaning, the brush then wiped dry with the ragged cloth as shown in figure 5
Figure 4
Figure 5
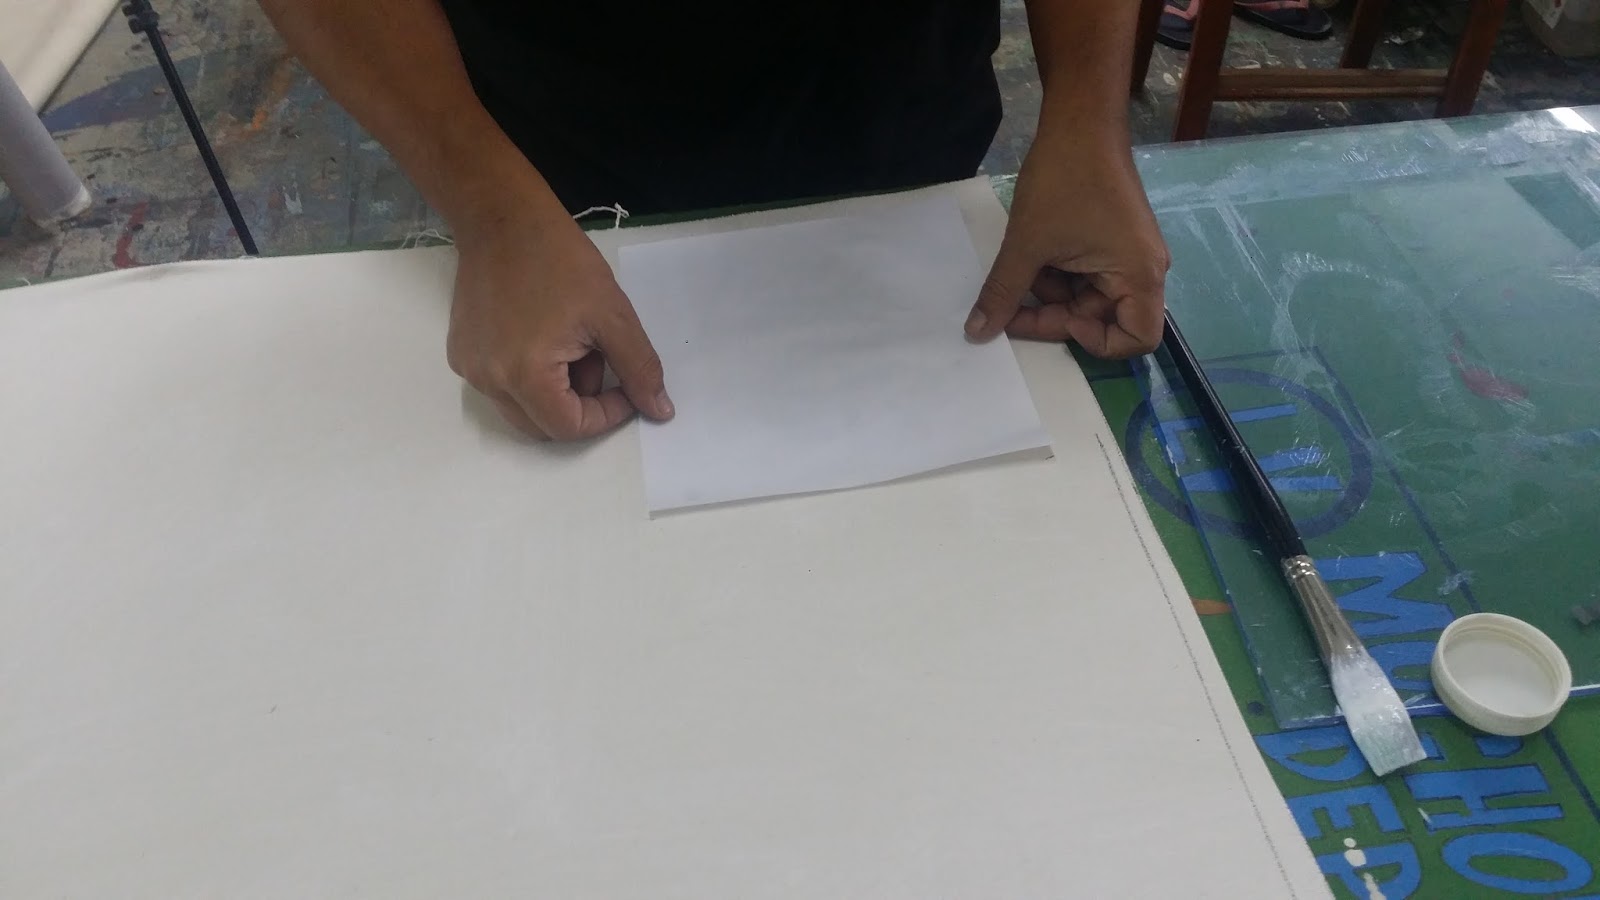
Here, Dr. Hushinidi prepares to apply the adhesive to the printed texture. The process must be done quickly so that the adhesive doesn't dry out before placing it on an object surface. Large quantities of PVC may be applied to the paper and quick strokes from top to bottom to cover the whole paper.
Figure 6
Figure 7
Figure 8
Figure 9
Once applied, he quickly placed the printed texture on to the surface of the canvas. He then used a rolling pin to smoothed out paper and remove any excessive PVC. The pin must be pressed hard so that the paper will stick to the surface at 100%. Using hand to smooth out will leave out air inside the paper and causing unwanted damage. Then, the paper will be left alone for about an hour and a half or 2 some may even take longer to completely dry.
Figure 10
Figure 11
Figure 12
Figure 13
While waiting, Dr. Hushinidi showed me more styles and experiments that can be applied to the surface to make things more interesting to the result. In figure 14 to 16, showing him apply charcoal to the canvas and placing the printed texture on top of it.
Figure 14
Figure 15
Figure 16
Figure 17 to 21, Shows him tearing the texture paper in 2 to see the effects of the texture. Figure 22 to 24 shows him folding the texture paper and applying the PVC.
Figure 17
Figure 18
Figure 19
Figure 20
Figure 21
Figure 22
Figure 23
Figure 24
Figure 25
We waited fore some time for the paper to dry, some we can feel the wetness of the paper to determine the readiness of the paper
Figure 26
Figure 27
When we think they are ready, Dr. Hushinidi then apply water to a small piece of rag, not too much and not to little the printed texture. He applied the water gently on the paper as shown in figure 28. If some parts of the paper can be quickly peeled off he will do so but gently as to not damage the texture shown in figure 29. The next few figures shows the process of scrubbing the paper off gently to reveal the printed texture on the canvas surface. The pressure applied, can sometimes require more power but it will risk tearing the texture.
Figure 28
Figure 29
Figure 30
Figure 31
Figure 32
Figure 33
Figure 34
Figure 35
The resulting effects of the printed texture on the canvas surface
Pen drawn effect on texture
Charcoal effect with texture
The tearing and folding effect of the texture
Of course, I must do the experiment for myself as well. So, I given a piece of canvas and try apply the experiment myself using the techniques I have observed. In Figure 36, I try to add my own experiment by scratching on the texture surface to observe the effects. For the time being, I applied 4 experiment textures shown in figure 37 and waited for a day for the result.
Figure 36
Figure 37
I continued to add more textures the next day, in figure 38 I added my own tearing texture and some other textures to the canvas. The result of the 4 textures from the previous day did not go so well, most likely that colder conditions made the PVC adhesive dry way too quickly. The other 4 textures that I did in the workshop turned out better, but there are bits of tearing here and there. Most likely because of my skill and new to this experience. I also tried to apply the textures on other surfaces to observe the results, Some turned out great some not so much. Nevertheless, this experiment was quite interesting for this semester.
Figure 38
Figure 39